Showing posts with label preserving. Show all posts

Wednesday, June 26, 2013

More Strawberries!

Strawberries are ready and the area You Picks are doing door busting business!  Many small farms in central New York have their roadside stands filled with these luscious gems.  As a firm believer in supporting local businesses whenever possible, fresh strawberries provide a positive incentive.

Although there are only five or six different wild strawberry species, there are hundreds of different domesticate varieties.  Some are small and dark, others are monstrous, though a bid bland.  I've heard some people claim that the smaller the berry the more likely it is to be tart.  Nothing could be further from the truth.  Many of the smaller varieties are top picks by chefs when making jams and desserts.  To read more, see Strawberry Varieties.
So here's a couple of ideas to help extend Strawberry time at your house:

Strawberry freezer jam -- this is good for all sorts of things: on top of ice cream (or blended in), spread on bread & biscuits, served over waffles, etc. etc.

Sliced and served over a bit of cake  -- oh, did I say 'Cake?'
A remarkably easy, tasty recipe which is relative low in calories and did I mention?  Really good.  You need 1 box of pudding in the mix cake mix (chocolate or lemon compliment strawberries nicely) eight ounces (1 cup) of Greek yogurt, and 3/4 cup water.  Follow the directions for blending, pan prep, and baking from the cake mix box.  I used a couple of loaf pans.  The cake didn't rise very much but it did have a fine silky texture that was a nice compliment with the fresh strawberries. 
Freeze and save for another time -- This is where some people get this notion that they need to freeze their berries in a sugar bath.  This is really unnecessary.  Just rinse the berries, remove the stems & caps if desired, spread out on a cookie sheet, and freeze.  Once frozen, transfer the berries to vacuum sealed bag or a press and seal bag where the air has been removed.  These are a nice surprise when the weather is cold and evil or a lovely addition blended into lemonade.


Wednesday, June 12, 2013

Strawberry time

Yes, it's true.  I never met a berry I didn't like.  Here on the East coast, we're on the cusp of strawberry harvest time.  Some of the local fields are all ready setting up their roadside stands and spreading out box upon box of these luchious morsels. 
We have many varieties, both cultivated and wild, growing at My Happy Acres.  The Virginia variety is the most common.  This small wild berry has a delicate flavor and is a welcome addition to salads and fresh fruit dishes where a spark of color helps brighten things up. 

Want to make something that is as easy as it is delicious?  Try some strawberry freezer jam:
 You will need: Equipment: a large & a small bowl, a potato masher, refrigerator safe covered containers to store the jam in.  Ingredients: Strawberries (depending on size, about a quart), granulated sugar, Instant pectin.
  • Using a potato masher, squish up enough berries in the large bowl to make 1 2/3 cups of prepared fruit (remember: no big lumps.  You want the flavor going into the spread not stay in the fruit).
  • In the smaller bowl, blend together 2/3 cup  sugar (or Splenda for a sugar free alternative) and 2 tablespoons of Instant pectin.  Please note: Instant Pectin and traditional pectin are not the same.  Instant pectin is intended for no cook jams and will give much better results.  
  • Gradually add the sugar mix to the fruit, stirring gently to combine and dissolve into the fruit.  Spoon into containers and let stand about 30 minutes.  
  • Since this is not cooked, place the unused portion into the refrigerator.  It will keep for about a week, provided that the family hasn't yummed it up by then!

This is now ready to serve on biscuits or spooned over ice cream.  Delicious!!!

Wednesday, August 15, 2012

Tomato perfection

Are they ready?  Not yet.  How about now?  Soon.  Now?  Wait for it...

This is the mantra of every gardener.  The rose enthusiast waiting for the certain blossom to open.  The orchardist waiting for the fruit to reach its sun blest juiciest.  And of course the summer vegetable gardener waiting for the tomatoes to vine ripen for best flavor.

So now is the time.

Although we will can a few during these first few weeks, nothing compares to a tomato which has ripened in the warm summer sun.  You can keep your hot house and hydroponics.  For me there is no comparason to the flavor mother nature intended.


Thursday, August 2, 2012

Harvesting and stocking up for the winter

Two weeks ago I did a posting about green beans and provided a lovely recipe for DH's favorite three bean salad.  I assumed that everyone knew what 'blanched' meant however learned that some of you needed a few hints on how to do this so that the vegetables come out crisp tender.

To begin, the smaller the amount of time between harvest and freezing or canning your vegetables the higher amount of nutrition you will receive from them.  This also goes for flavor.  Vegetables just taste best when fresh from the field or garden.  For the best flavor, pick your vegetables in the cool of the morning.

Although others may work a little quicker than I, it takes me about an hour to prepare and process a gallon of green beans.  You will need to following to blanch and prepare your vegetables for freezing.
  1. large bowl to hold fresh picked vegetables (or keep them in your clean garden bucket)
  2. large bowl to hold cleaned raw vegetables
  3. large pot for boiling water and stainless steel stainer to hold vegetables while cooking.
  4. large bowl of iced water with a colander for holding and draining
  5. vacuum sealer or press and seal freezer bags.
Although this process can be used for nearly any vegetable, we're using green beans (mostly because that's what is coming from the garden in the greatest abundance).

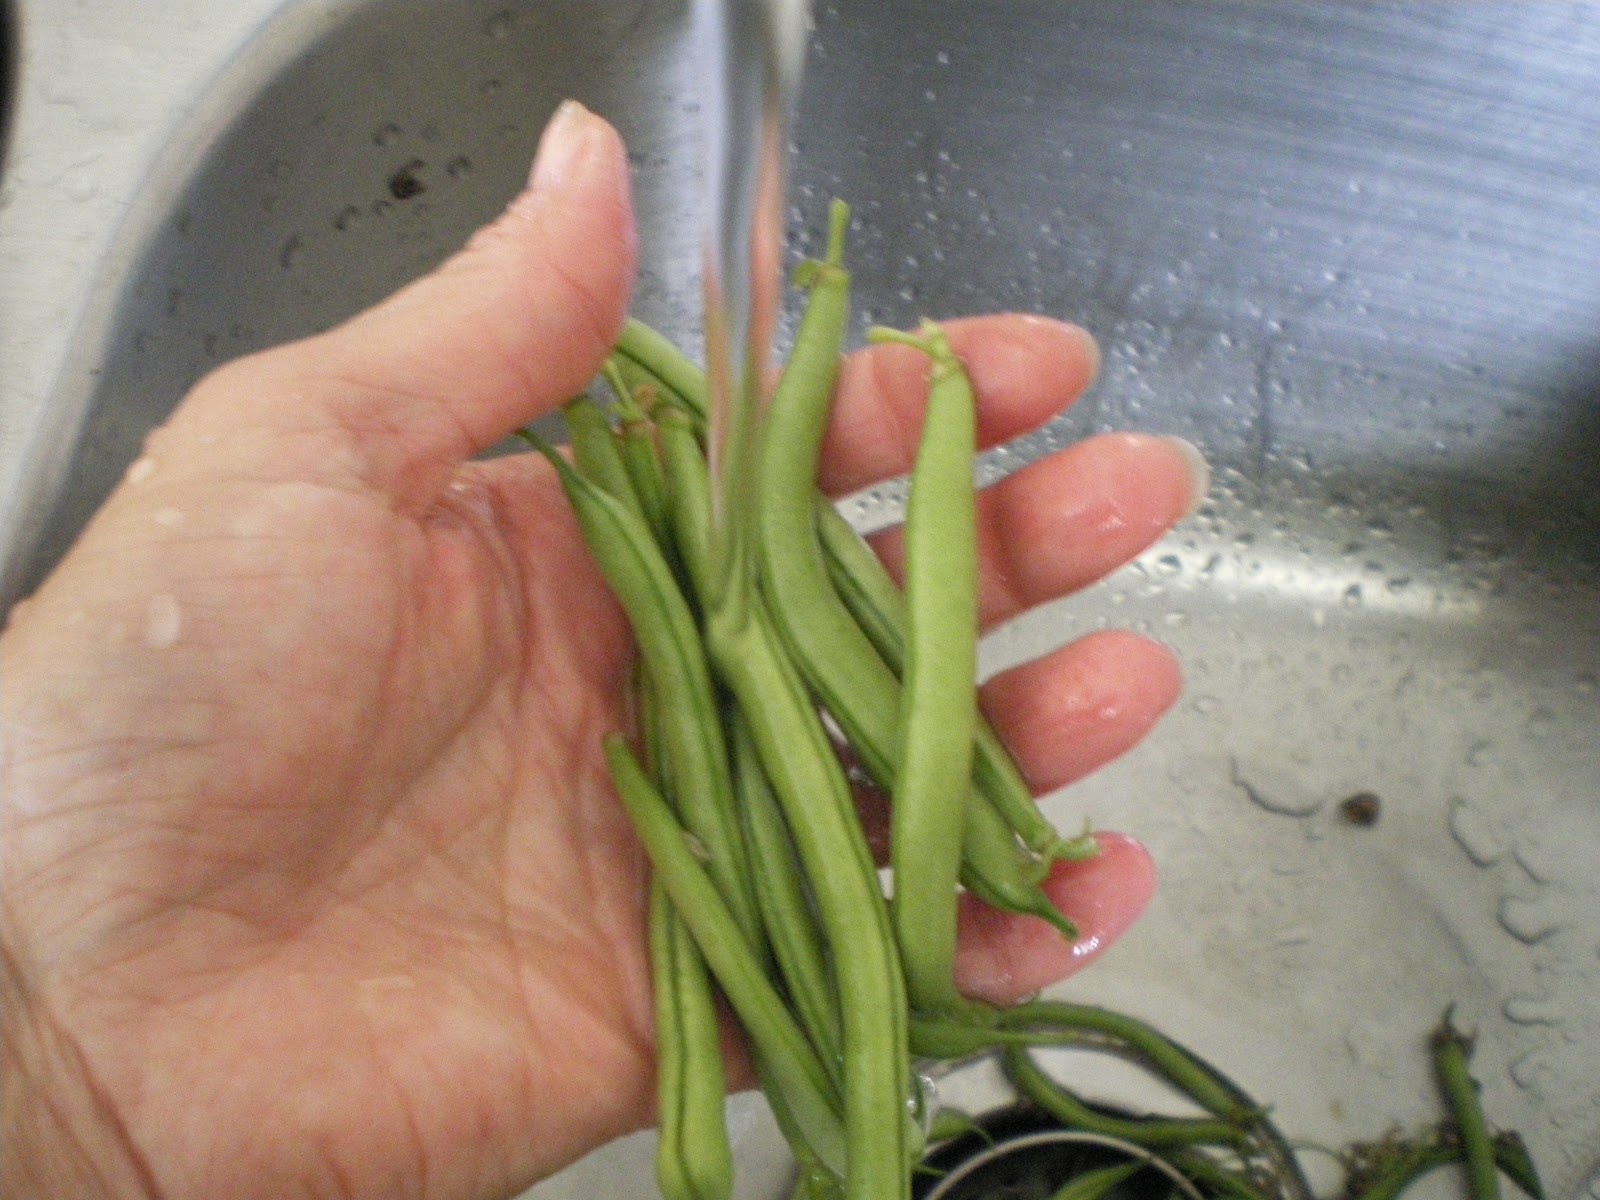
Before beginning, clear your counter space to allow you to work efficiently.  The configuration of my kitchen allows me to work in clockwise.  Starting at the sink, take a small handful of beans and gently rinse the dirt and plant debris, such as the dried blossoms, from the beans.  Pinch or cut off the stem attachment and discard.  Now snap or cut the clean beans into 1 - 2 inch segments.  If the green or yellow beans are fresh, they should easily snap into pieces.  If they are a little rubbery, it just means that the beans may not the freshest however may still have good flavor.

Rinse the dirt from your beans

Once the stem attachment has been removed, snap your beans into 1 - 2 inch segments.
While you're cleaning your beans, set a large pot of unsalted water on the stove to boil.  As soon as it reaches a rolling boil, take a handful of beans and drop them into the straining basket so that the beans are covered in water but not bouncing around in the water bath.  Many of the better cookbooks also contain a reference table for how long to keep them in the water bath in order to blanch them until crisp tender.  I typically cook mine until they turn a truly lovely shade of bright green which is about 3 minutes. 

When starting out, you may want to take one out of the bath (careful: HOT), rinse it in the cold iced water, then taste if it is cooked to your liking.  whatever you do: don't cook it until it turns to mush or turns grey green.  if you are freezing your harvest, you will most likely be thawing and cooking it at a later date.  You want it to be a wee bit raw to hold those lovely flavors!  Remember that those bright colors are the nutrition you're saving.  Don't boil away the vitamins!

Boil about three minutes, until crisp tender
When ready, drain the hot vegetables and plunge them into an ice water bath to cool and halt the cooking process.  This will preserve the color and lock in those vitamins!  Once cool, the drained beans are ready to ladle into the freezer bags.
Plunge into an ice water bath to stop the cooking and retain the nice color
Drain the beans throroughly before spooning them into freezer bags.  Be sure to remove as much air as possible before sealing.  This can be done in several ways:  if using a vacuum sealer, follow the directions for your appliance, add your vegetables, evacuate and seal each package.  If using press and seal plastic bags, scoop the vegetables into the bag, then place the bag open side up into a pan of cold water to press the air out.  Be careful not to submerge the open bag into the water and get water in the bag!  When the air has been removed to your satisfaction, seal the bag and remove it from the water.

Add the cool, drained beans to the freezer bag, seal, and freeze
Why remove the air? Air pockets will allow frost to form, causing freezer burn and will eventually undo your efforts.  Vegetables prepared in this way can last a long time and will continue to feed your family well into Winter when Summer is just a delight as we peruse our seed catalogs dreaming of next year's garden.