Showing posts with label canning. Show all posts

Friday, August 9, 2013

Enjoying the summer's bounty

Not everyone has the good fortune of a florishing garden or local orchards producing lushious peaches and apricots.  Whenever possible support your local farmers by shopping farmers' markets and buying direct.

It's blackberry time at My Happy Acres.  We have both seeded and seedless varieties.  Large, full of juice, and as sweet as summer, blackberries are delicous in cobblers, served over ice cream, or just by the handful.  Our favorite way to save the taste of summer, is to either freeze the berries for later use or to make jam.  The house was filled with the mouth watering aromas of both apricot (from a local orchard) and blackberry jams.
Of course when out picking the wild berries, some helpers are more help than others (as the puppy helps himself to another mouthful of ripe low growing berries).  Remember: those thorns can be small and hard to remove.  Showing a little caution and reserve can be rewarded with buckets of berries!


Wednesday, June 12, 2013

Strawberry time

Yes, it's true.  I never met a berry I didn't like.  Here on the East coast, we're on the cusp of strawberry harvest time.  Some of the local fields are all ready setting up their roadside stands and spreading out box upon box of these luchious morsels. 
We have many varieties, both cultivated and wild, growing at My Happy Acres.  The Virginia variety is the most common.  This small wild berry has a delicate flavor and is a welcome addition to salads and fresh fruit dishes where a spark of color helps brighten things up. 

Want to make something that is as easy as it is delicious?  Try some strawberry freezer jam:
 You will need: Equipment: a large & a small bowl, a potato masher, refrigerator safe covered containers to store the jam in.  Ingredients: Strawberries (depending on size, about a quart), granulated sugar, Instant pectin.
  • Using a potato masher, squish up enough berries in the large bowl to make 1 2/3 cups of prepared fruit (remember: no big lumps.  You want the flavor going into the spread not stay in the fruit).
  • In the smaller bowl, blend together 2/3 cup  sugar (or Splenda for a sugar free alternative) and 2 tablespoons of Instant pectin.  Please note: Instant Pectin and traditional pectin are not the same.  Instant pectin is intended for no cook jams and will give much better results.  
  • Gradually add the sugar mix to the fruit, stirring gently to combine and dissolve into the fruit.  Spoon into containers and let stand about 30 minutes.  
  • Since this is not cooked, place the unused portion into the refrigerator.  It will keep for about a week, provided that the family hasn't yummed it up by then!

This is now ready to serve on biscuits or spooned over ice cream.  Delicious!!!

Sunday, June 9, 2013

Life a little sweeter

Earlier in the week I went freezer diving and pulled out six (!) large Ziplocks filled with frozen blackberries.  Last year was a perfect year for wild blackberries.  While many other plants suffered in the heat and dryness, the blackberries thrived.
After enjoying bowl after bowlful, it was time to rinse the bounty and stock it away for another time.  Unlike the berries one buys at the store, our berries were not soaked in sugar before being put away.  Rather, the berries were rinsed then spread out on a cookie sheet prior to freezing.  This allowed each fruit to freeze separately, maintaining it's shape and juice.  The frozen berries are then vacuum sealed before being returned to the freezer until ready to use.

My general rule of thumb when preparing fruits or vegetables is less is more.  When making jam, focus on the fruit.  Our Blackberry jam has only three ingredients: Blackberries, sugar, and pectin (to aide in setting the jell).  One of my favorite recipes can be found at Food.com.  The only change in this recipe is whenever making jam I use a 1 to 2/3rds ratio fruit to sugar.  This creates more of a fruit flavor to the jam however feel free to adjust it to suit your pallet.

Seeds

What slows people down from making their own jams are the seeds.  No one really likes to have the smooth creamy texture of good jam interrupted by a stony seed pellet.  This is easy to remedy.  First of all, put away the food processor.  All this does is grind up the seeds to the consistency of sand making them harder to remove. 
By first mashing the heated fruit with a potato masher, then later mashing and sieving the hot pulp through a food mill, one will render out more of that delicious pulp and filter out the pebbly seeds.  For those that start with seedless fruit (a time saver), after processing through the food mill, set aside the remaining pulp in the refrigerator for an interesting fruit spread.  It won't keep as long as the processed jam (unless, of course, you freeze it), but it's a pure fruit change from sugared spreads.

Like fruit pies, feel free to mix and match fruit combinations when making your jam.  Concord and blackberry blend very nicely as does strawberry with blackberry.  Whatever your favorite, I'm sure you'll find that your store bought jam will pale by comparison to that lovely fresh taste from garden to kitchen.


For some special Tips on Jam making, (click here)

Saturday, January 19, 2013

Sauerkraut and other delicious treats

In the late Fall, just before everything freezes, the cabbages are harvested.  After enjoying bowl after bowl of fresh cole slaw and cabbage rolls stuffed with rice or ground pork, it was time to make Sauerkraut.

I'm always a little amazed by those folks who say that they don't like sauerkraut.  For me that's the equalivant to saying that you don't like cheese.  There are so many different types and so many flavors.  Today, I'll show you the basic recipe for the traditional Eastern European sauerkraut.

Ingredients:  cabbage; non iodized salt (I use canning salt)
Tools: chopping block, large sharp knife (please be careful), potato masher, food grade bucket w/lid, cheese cloth, large press & seal plastic bag.

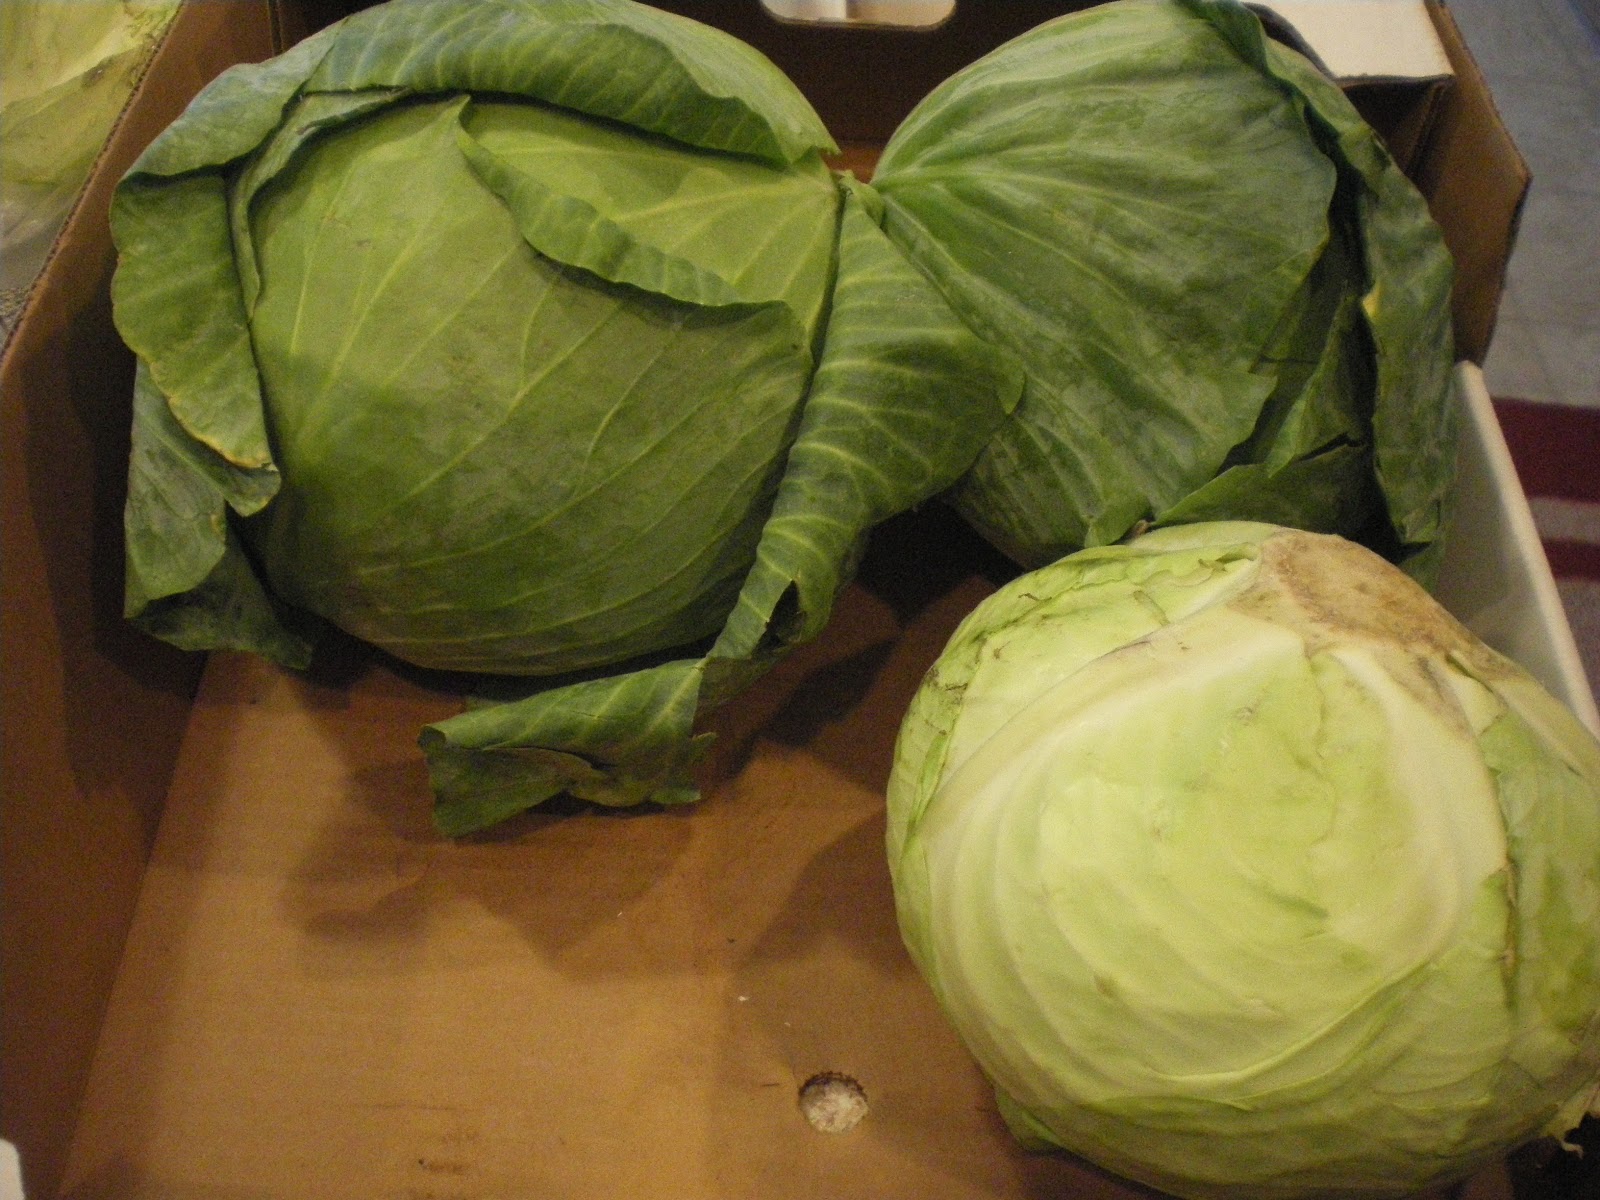
 How many heads of cabbage do you need?  Of course this depends on how much you are making and how large the cabbage heads are.  In 2011, I made around 60 lbs with only two heads.  Each head was about the size the a bushel basket.  Once trimmed, was larger than a basketball.  2012 was a drier year so each head was only around eight pounds and about the size of a large softball.

The cabbage selected should be uniform in shape, have no discolorations or spots, and should not look dried out.

 Before getting started at all the chopping and squashing, take a look at the tools in your kitchen.  Many folks have large food processors.  If one is available to you, don't hesitate to use the shredding disk and save yourself from the potential hazzards down the road.  I only have a small six cup variety, so my options are limited.  If you are using a knife, please be very careful.  Before starting, clear your work area of any counter clutter, small fingers, and interested puppy noses.  Check the size of your knife to the size of the cabbage you are slicing.  If it is too small, you may end up cutting yourself or at least get very frustrated while chopping.  Next: sharpen your knife and wash carefully.
Gently remove the outer leaves exposing the slightly paler head.  Chop into managable sections, avoiding the bitter core in the center.  Take each section and slice into quarter inch segments.

There are lots of different containers available for curing.  Traditionally pioneers used nonreactive crocks with a wooden disk weight.  These can still be purchased from a variety of sources for those who are interested.  What I have found is that using a standard food grade bucket that has been throroughly cleaned works just as well.  Mine used to have frosting in it and was obtained from a local bakery.
 Place the shreds at the bottom of the bucket and sprinkle about a tablespoon of canning salt over it.  Add an inch or two more cabbage and sprinkle again with another tablespoon of salt.  The salt will draw the water out of the cabbage which will aide in the frementation of the kraut. 
Be sure to use non-iodized salt!  Salt with iodine in it will turn the cabbage black and not ferment properly.
 Now the fun part: with the potato masher, smash down the cabbage shreds as much as you can pressing out the air spaces.  If you have a child or partner that wants to help, this is a great place to have them join the fun!

Continue chopping, sprinkling, and smashing until the bucket is full.  Lay a piece of clean cheese cloth over the pressed, salted cabbage.  Fill a press and seal plastic bag with water, inverting it over the sink to check that it is completely sealed.  Gently lay the filled bag over the cheesecloth so that it completely covers corner to corner and weights down the contents.

 Gently cover with the lid to keep out dust and dirt while the mixture cures.  Don't forget!  Fermenting foods need to breathe.  Don't seal up the bucket too tight or place it where the air get stale.  Place the bucket in a cool, dark place, and forget about it for a couple of months.  Not really.  I write the date made on a sticky note and attach the label to the lid.  Periodically over the next few months, I take a peak at it to be sure it is fermenting properly and not growing mold or doing something unexpected.

After two or three months, the kraut is ready to can.  Heating and processing sauerkraut, stops the fermenting process.  It is the fermentation which gives the cabbage its sour flavor.  The longer the kraut sits and ferments, the more sour the taste.  When the cabbage has turned to kraut, it should translucent with no discolorations.  Black, red, or other signs of mold should be discarded.  The liquid should be clear.

When you first open the bucket, gently lift off the plastic bag and remove the cheesecloth.  I typically discard the top inch or so of the fermented cabbage to expose the lovely sauerkraut underneath.  Using my favorite tongs, the kraut is lifted out and placed into a large pot to heat while the large mouth canning jars are prepared.  32 pounds of cabbage produced around 10 quarts of kraut, including juice.  By using the freshest most succulent cabbage produced a great deal of juice.

For a change of pace, if you like a sweeter kraut, add caraway seeds to the jarred kraut.  By adding about a tablespoon full to the bottom, middle, and top, the flavors will slightly sweeten and become less sharp.

Each jar was filled and packed down before having a bit more liquid added to 'cap it off'.  As always, if canning, be sure to leave about a half inch of air space at the top for processing.  Gently tap the bottom of the jar release any bubbles, using a knife along the inside to bring them to the surface.   Wipe the lip with a clean cloth, seal, and process in a water bath for about 15 minutes.

What to do with all the kraut?  The following are all delicious options:
Salad: http://allrecipes.com/recipe/sauerkraut-salad/  
This is a really nice fresh alternative to cole slaw.

Soup: http://easteuropeanfood.about.com/od/polishsoups/r/krautsoup.htm 
Good with ham or other cured pork.  A show stopper at our house!  BTW: this website has a lot of very good recipes.  Also try their sauerkraut and apples for a lovely sidedish.

German Chocolate Cake:  http://www.tasteofhome.com/Recipes/German-Chocolate-Sauerkraut-Cake
Most folks think there is coconut in it but not this time!  Amazingly good without tasting 'krauty'.

Life is too short not to enjoy good food. Try some sauerkraut today! 


Thursday, August 2, 2012

Harvesting and stocking up for the winter

Two weeks ago I did a posting about green beans and provided a lovely recipe for DH's favorite three bean salad.  I assumed that everyone knew what 'blanched' meant however learned that some of you needed a few hints on how to do this so that the vegetables come out crisp tender.

To begin, the smaller the amount of time between harvest and freezing or canning your vegetables the higher amount of nutrition you will receive from them.  This also goes for flavor.  Vegetables just taste best when fresh from the field or garden.  For the best flavor, pick your vegetables in the cool of the morning.

Although others may work a little quicker than I, it takes me about an hour to prepare and process a gallon of green beans.  You will need to following to blanch and prepare your vegetables for freezing.
  1. large bowl to hold fresh picked vegetables (or keep them in your clean garden bucket)
  2. large bowl to hold cleaned raw vegetables
  3. large pot for boiling water and stainless steel stainer to hold vegetables while cooking.
  4. large bowl of iced water with a colander for holding and draining
  5. vacuum sealer or press and seal freezer bags.
Although this process can be used for nearly any vegetable, we're using green beans (mostly because that's what is coming from the garden in the greatest abundance).

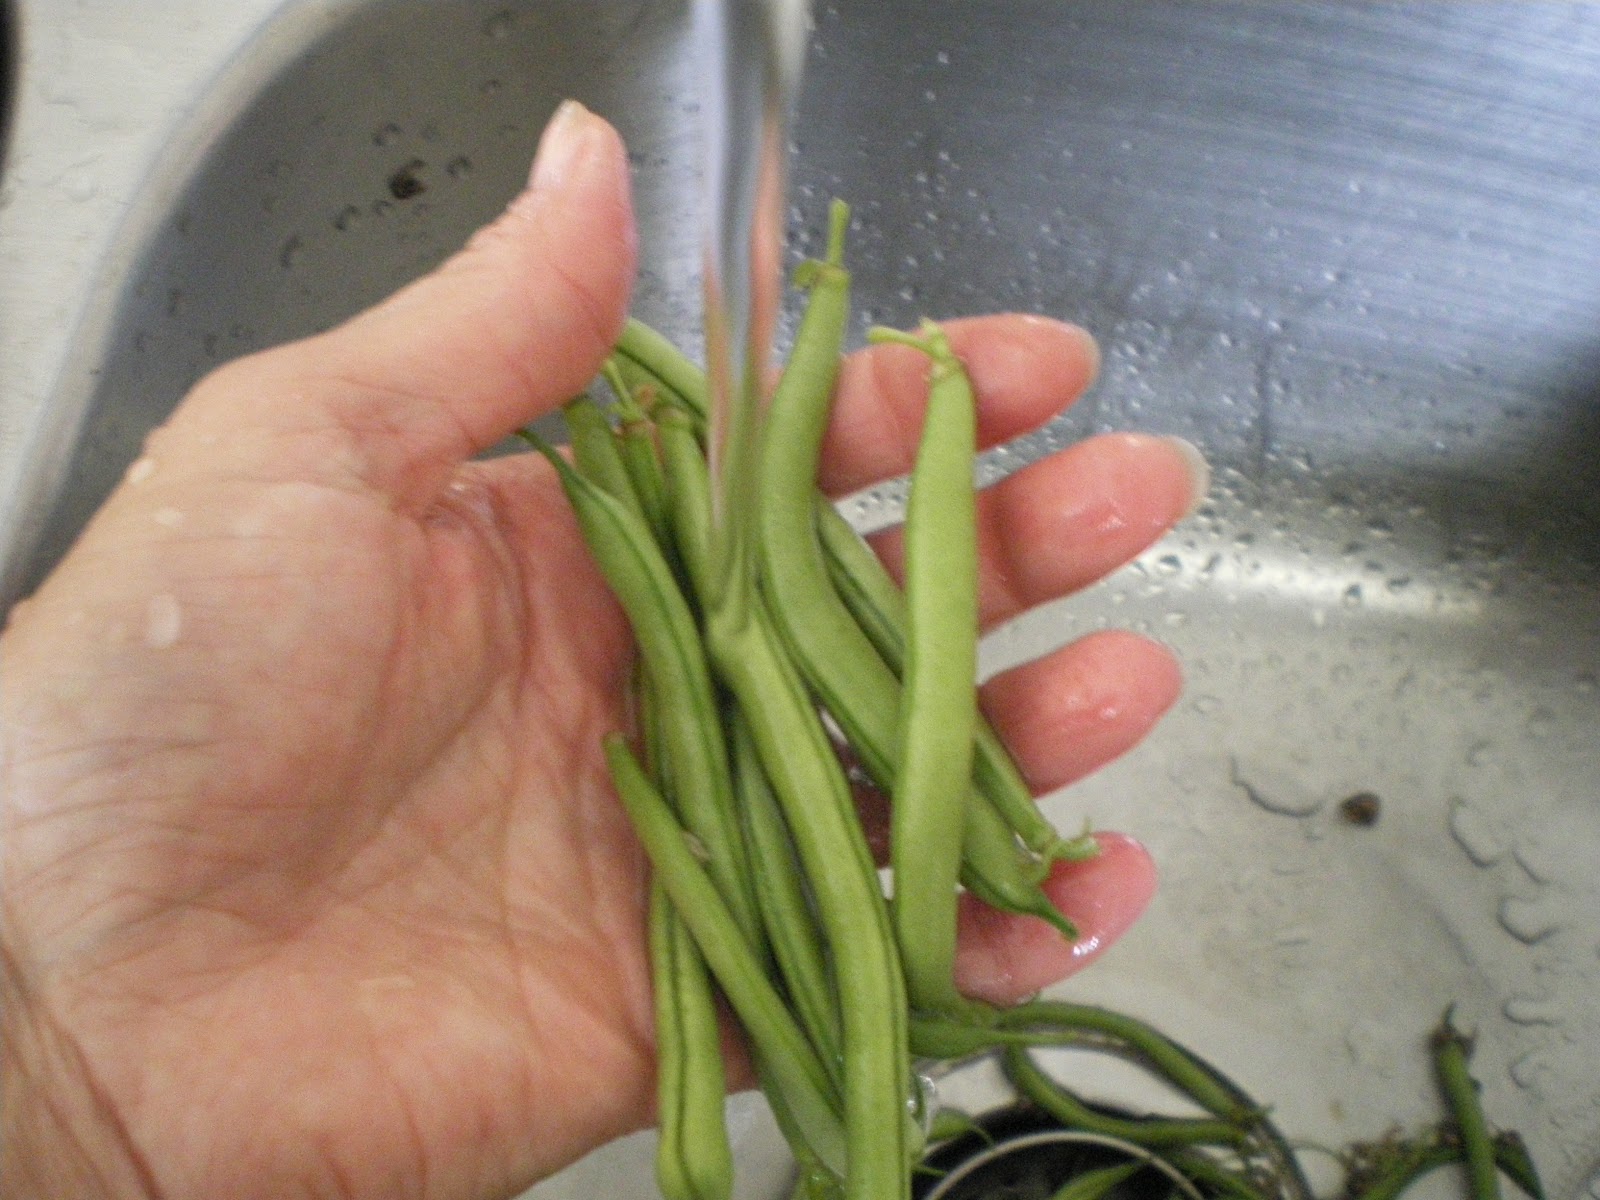
Before beginning, clear your counter space to allow you to work efficiently.  The configuration of my kitchen allows me to work in clockwise.  Starting at the sink, take a small handful of beans and gently rinse the dirt and plant debris, such as the dried blossoms, from the beans.  Pinch or cut off the stem attachment and discard.  Now snap or cut the clean beans into 1 - 2 inch segments.  If the green or yellow beans are fresh, they should easily snap into pieces.  If they are a little rubbery, it just means that the beans may not the freshest however may still have good flavor.

Rinse the dirt from your beans

Once the stem attachment has been removed, snap your beans into 1 - 2 inch segments.
While you're cleaning your beans, set a large pot of unsalted water on the stove to boil.  As soon as it reaches a rolling boil, take a handful of beans and drop them into the straining basket so that the beans are covered in water but not bouncing around in the water bath.  Many of the better cookbooks also contain a reference table for how long to keep them in the water bath in order to blanch them until crisp tender.  I typically cook mine until they turn a truly lovely shade of bright green which is about 3 minutes. 

When starting out, you may want to take one out of the bath (careful: HOT), rinse it in the cold iced water, then taste if it is cooked to your liking.  whatever you do: don't cook it until it turns to mush or turns grey green.  if you are freezing your harvest, you will most likely be thawing and cooking it at a later date.  You want it to be a wee bit raw to hold those lovely flavors!  Remember that those bright colors are the nutrition you're saving.  Don't boil away the vitamins!

Boil about three minutes, until crisp tender
When ready, drain the hot vegetables and plunge them into an ice water bath to cool and halt the cooking process.  This will preserve the color and lock in those vitamins!  Once cool, the drained beans are ready to ladle into the freezer bags.
Plunge into an ice water bath to stop the cooking and retain the nice color
Drain the beans throroughly before spooning them into freezer bags.  Be sure to remove as much air as possible before sealing.  This can be done in several ways:  if using a vacuum sealer, follow the directions for your appliance, add your vegetables, evacuate and seal each package.  If using press and seal plastic bags, scoop the vegetables into the bag, then place the bag open side up into a pan of cold water to press the air out.  Be careful not to submerge the open bag into the water and get water in the bag!  When the air has been removed to your satisfaction, seal the bag and remove it from the water.

Add the cool, drained beans to the freezer bag, seal, and freeze
Why remove the air? Air pockets will allow frost to form, causing freezer burn and will eventually undo your efforts.  Vegetables prepared in this way can last a long time and will continue to feed your family well into Winter when Summer is just a delight as we peruse our seed catalogs dreaming of next year's garden.