Showing posts with label recipes. Show all posts

Monday, October 27, 2014

What to do with all those apples

This has been a really good year for apples.  Not too hot.  Not too cold.  Not too wet.  Not too dry.  Pest management was minimal.  Trees grew strong and healthy.  This is the kind of year that orchardists and tree managers look forward to.

So what to do with all those apples:
Before immediately making pies, what kind of apple are you comtemplating?  Put simply, some apples are better suited to cooking than others.  Braeburn, for example, makes a wonderful apple butter.  As this apple cooks, it easily breaks apart creating a delicious sauce and, with a little effort, makes a lovely apple butter.
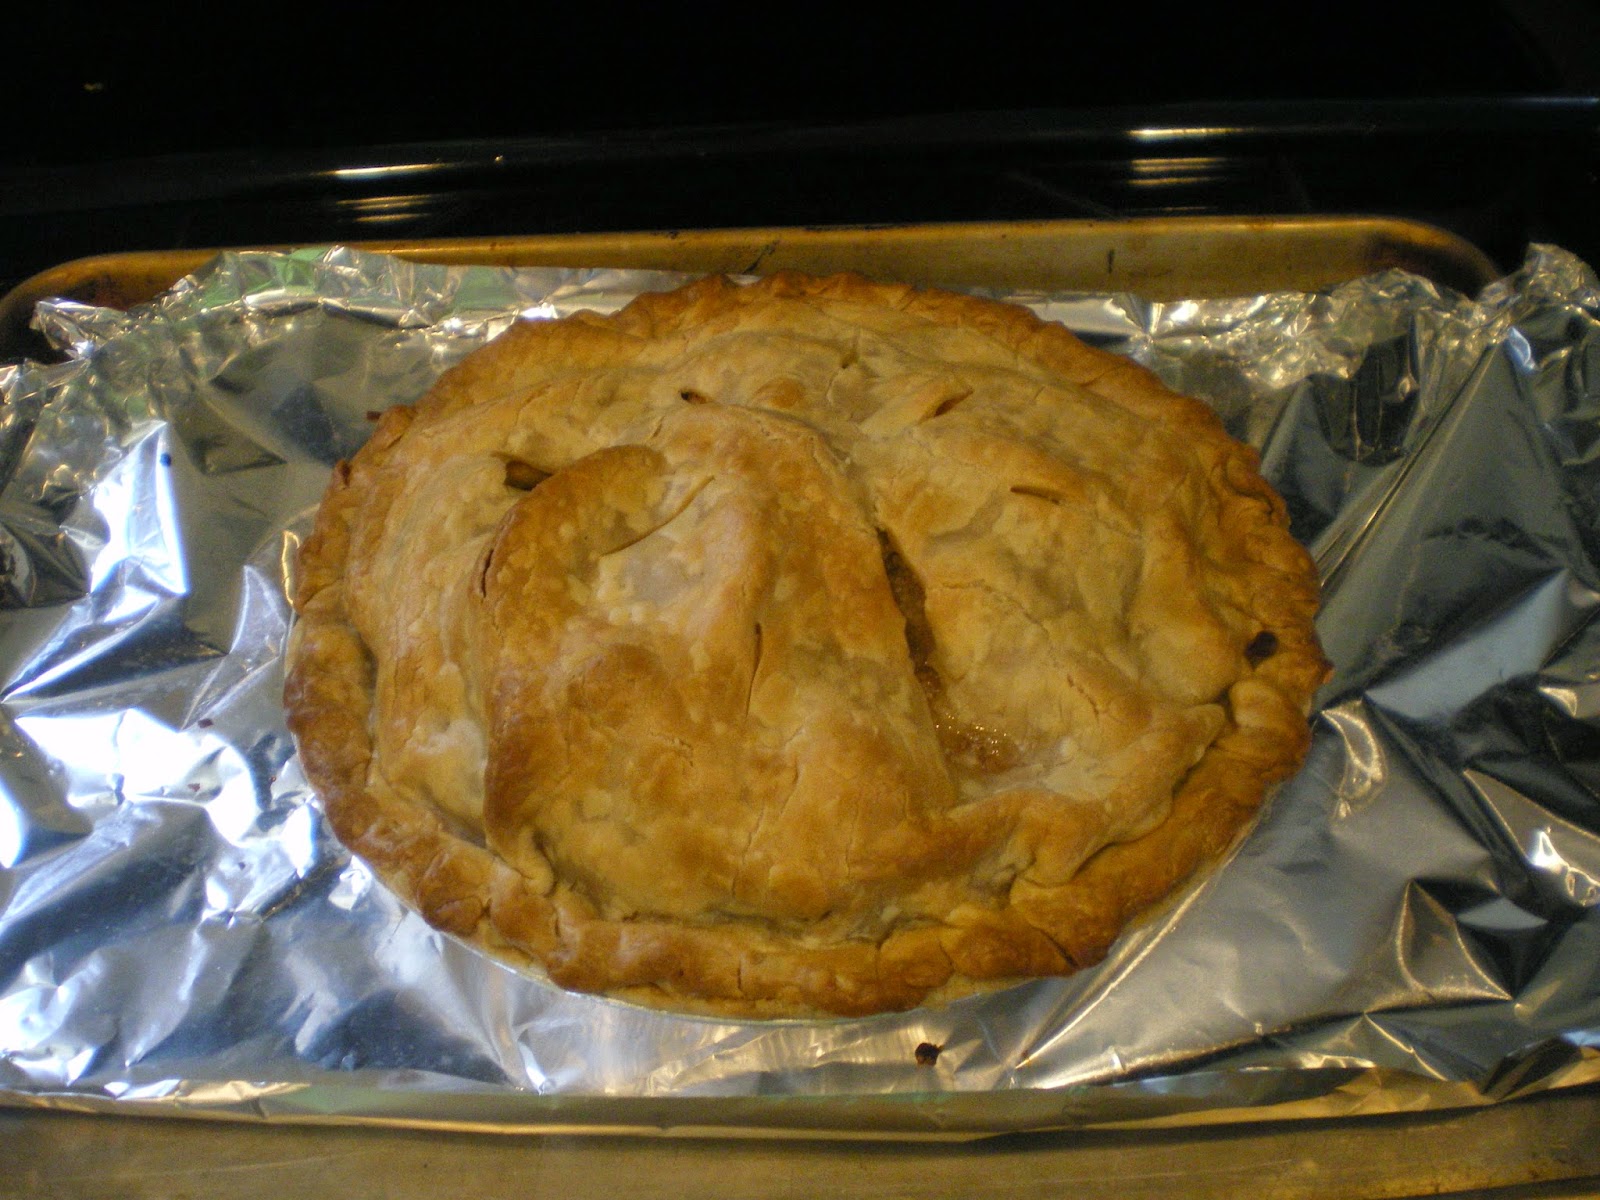
Other apples such as Fuji or Jonagold hold their shape making them perfect for pies or baked apples.  When peeling and prepping pie filling, don't worry if you get a little carried away.  After making the first pie, put just enough filling for another in a press and seal (Ziplock type) freezer bag.  After removing the air, lay the sealed bag in foil pie tin, and freeze.  The pie filling will freeze in the shape of the pie tin.  When ready to use, remove the pie tin shaped filling and place in a prepared pin pan, covering with pie dough, finishing normally.   Easy-peasie.
Another good idea is a nice alternative to snack chips: dried apples.  Peel and slice the apples about 1/4" thick, then soak for about 2 minutes in a citric acid solution (2 T citric acid to 1 quart water).  Available at most health food stores, citric acid is a nice alternative to sulfur and will keep the fruit from turning dark while adding Vitamin C.  Place treated slices in the dehydrator for about 10 hours (135 F degrees).   I like dried apples crisp and slightly tart, so this is perfect.  When ready, place the apple slices into a air tight container and seal.
As you're enjoying these, remember: as good as these are, whether you are eating an apple straight off the tree or nibbling at them one slice at a time: ten apple slices can equal an entire apple.  Moderation is the clue.  (I know: no fun.)

For ideas and more info: read here.


Thursday, October 2, 2014

Harvest time 2014

Patiently we watched and waited.  Every few days, we walked the orchard, monitoring the baby trees for signs of growth and possible pests.  With sharpened tools, we selectively pruned, gently spreading limbs to uncross and grow healthy.  First year fruits were removed to allow the baby trees to put their energy into growing strong.  This year we allowed some of the little trees to produce fruit.
Gala, Fuji, and Cortlands were very productive, resulting in large, lovely apples, beckoning to be eaten straight off the tree.  The Honey Crisp trees produced apples, however perhaps need another year or two to mature before they will be a marketable size.
Helper puppy guarding the pick sack

As far as I'm concerned, they were all perfect size for making apple butter and, above all,
mmmmmmmmmm, pie...
apple pie.  If you're looking for some good recipes to use your apples in, < click here>.  Remember, keep it simple.  Enjoy a fresh fall apple today!

Sunday, June 29, 2014

Strawberrytime

The abundance of berries is probably one of the best parts of summer.  My Happy Acres has a wide variety of strawberries.  Although the wild berries were at their peak about a week ago, other domesticated berries are coming into their peak right now.
To ensure that your berries are at their ripened best, buy direct from a local farmer or You Pick.  If not readily available, choose the berries that are uniformly red with no white or green or soft spots.  An unripe berry will not ripen off the plant.  We prefer the dark red varieties for flavor and juiciness.

Preparation: keep berries in a cool place (such as the refrigerator) until ready to use.  Wash and stem when ready to use them (pre-cleaning before refrigeration will cause them to deteriorate within a day or two).  Slice or halve the berries into a bowl.  Sugar to taste.  If you have very fresh, juicy berries you may not need any sugar at all.

Strawberry Shortcake
The cake portion of strawberry shortcake is traditionally a light sponge cake however try a variety of different bases until you find what you like best.  We were delighted with the results when using an almond pound cake.  These are also sometimes available at your local grocery or bakery.  Decide what tastes best.
The cream portion can sometimes turn into a source for debate.  Some people insist on only whipping cream.  Some people like Cool Whip.  We like Whipped Cream Frosting.  By slightly modifying the recipe by using only 1/4 cup powdered sugar, the Whipped Cream enhances the flavor of the berries.  Okay, I hear you.  This is not diet food.  But a little bit goes a long way.  Just one spoonful and you too will be saying, 'Life is good'...

Thursday, August 15, 2013

What to do with it all

So here's the scenario: after a long winter, huddled up with your seed catalogs, dreaming of warmer days, you suffered from a combination cabin fever/garden withdrawal.  The desire for those lovely fresh vegetables cause your brain to derail and suddenly boxes of seeds are arriving at your doorstep. 

As the ground warms, you hurry to push those little promises into the soil, enticed by those lusty images of large moist vegetables pictured on each package.  Dutifully you weed and water and nurse each precious spout.
Then one morning it happens: you walk out to discover that the garden has transformed itself into a jungle.  Delicate cucumbers and zuchinis  now look more like sporting equipment and billy clubs.  Instead of two or three lovely tomatoes, you are counting the buckets as you haul gallon after gallon into the kitchen.  Freezing and canning can help preverve the summer.
Remember you don't have to freeze whole fruits.  You can also prepare sauces or make whole dishes to freeze and enjoy later.
The following are a few favorites:
Zuchini Latkes
Chocolate Zuchini Cake
Cauliflower pickles

If you have some favorites, please feel free to forward them on to me!  We're always on the look out for new taste treats!


Tuesday, August 13, 2013

Last of the summer beans

Production from the yellow beans peaked a couple of weeks ago and has been on a steady decline since.  We've gone from picking eight quarts every three days to picking only two quarts every five to seven days.  It is close to time to put that part of the garden to sleep.

On the other hand, tomatoes are rapidly ripening.  Unlike many of the store bought tomatoes that are picked green and ripen on their way to the grocery (which, incidentally, leaves them tasteless by comparison), the slow ripened on the vine tomatoes retain their sun kissed flavor.  Beefsteak, Big Boy, and Roma are all local favorites.
Also, the garlic, harvested a few short weeks ago, has now dried to the point that it is ready to be enjoyed.  Fresh garlic adds a delicious pungency to pickles, tomato sauce, or steeped in olive oil to add a little kick to pasta dishes.
The following is a favorite cold pasta dish that is easy and delicious:

1 cup dry Orzo pasta (rice shaped pasta)
1/4 cup olive oil (extra virgin)
3 cloves of fresh garlic, chopped (a little more or less to taste)
4 Tbsp capers (non-pareil or small capers taste best)
1/4 cup finely crumbled feta cheese
three large tomatoes sliced and lightly salted


Bring a large pot of water to boil.  As pot begins to simmer, measure your olive oil into a glass measuring cup and add the sliced/chopped garlic.  Set this aside for later.  When the pot begins to boil, add the pasta yet only allow it to cook for about nine minutes to reach the al dente texture, then remove from the heat, drain and rinse in cold water to cool to stop the cooking process.  Once completely drained, transfer into a bowl.  Stir in the sliced/chopped garlic oil and let sit for about five minutes.

Add the capers, feta, and tomatoes, gently stirring to coat with olive oil and orzo.  cover and place in the refrigerator for about 30 minutes before serving.  We spoon this over fresh romaine lettuce with a small drizzle of balsamic vinegar dressing.


Wednesday, June 26, 2013

More Strawberries!

Strawberries are ready and the area You Picks are doing door busting business!  Many small farms in central New York have their roadside stands filled with these luscious gems.  As a firm believer in supporting local businesses whenever possible, fresh strawberries provide a positive incentive.

Although there are only five or six different wild strawberry species, there are hundreds of different domesticate varieties.  Some are small and dark, others are monstrous, though a bid bland.  I've heard some people claim that the smaller the berry the more likely it is to be tart.  Nothing could be further from the truth.  Many of the smaller varieties are top picks by chefs when making jams and desserts.  To read more, see Strawberry Varieties.
So here's a couple of ideas to help extend Strawberry time at your house:

Strawberry freezer jam -- this is good for all sorts of things: on top of ice cream (or blended in), spread on bread & biscuits, served over waffles, etc. etc.

Sliced and served over a bit of cake  -- oh, did I say 'Cake?'
A remarkably easy, tasty recipe which is relative low in calories and did I mention?  Really good.  You need 1 box of pudding in the mix cake mix (chocolate or lemon compliment strawberries nicely) eight ounces (1 cup) of Greek yogurt, and 3/4 cup water.  Follow the directions for blending, pan prep, and baking from the cake mix box.  I used a couple of loaf pans.  The cake didn't rise very much but it did have a fine silky texture that was a nice compliment with the fresh strawberries. 
Freeze and save for another time -- This is where some people get this notion that they need to freeze their berries in a sugar bath.  This is really unnecessary.  Just rinse the berries, remove the stems & caps if desired, spread out on a cookie sheet, and freeze.  Once frozen, transfer the berries to vacuum sealed bag or a press and seal bag where the air has been removed.  These are a nice surprise when the weather is cold and evil or a lovely addition blended into lemonade.


Wednesday, June 12, 2013

Strawberry time

Yes, it's true.  I never met a berry I didn't like.  Here on the East coast, we're on the cusp of strawberry harvest time.  Some of the local fields are all ready setting up their roadside stands and spreading out box upon box of these luchious morsels. 
We have many varieties, both cultivated and wild, growing at My Happy Acres.  The Virginia variety is the most common.  This small wild berry has a delicate flavor and is a welcome addition to salads and fresh fruit dishes where a spark of color helps brighten things up. 

Want to make something that is as easy as it is delicious?  Try some strawberry freezer jam:
 You will need: Equipment: a large & a small bowl, a potato masher, refrigerator safe covered containers to store the jam in.  Ingredients: Strawberries (depending on size, about a quart), granulated sugar, Instant pectin.
  • Using a potato masher, squish up enough berries in the large bowl to make 1 2/3 cups of prepared fruit (remember: no big lumps.  You want the flavor going into the spread not stay in the fruit).
  • In the smaller bowl, blend together 2/3 cup  sugar (or Splenda for a sugar free alternative) and 2 tablespoons of Instant pectin.  Please note: Instant Pectin and traditional pectin are not the same.  Instant pectin is intended for no cook jams and will give much better results.  
  • Gradually add the sugar mix to the fruit, stirring gently to combine and dissolve into the fruit.  Spoon into containers and let stand about 30 minutes.  
  • Since this is not cooked, place the unused portion into the refrigerator.  It will keep for about a week, provided that the family hasn't yummed it up by then!

This is now ready to serve on biscuits or spooned over ice cream.  Delicious!!!

Sunday, June 9, 2013

Life a little sweeter

Earlier in the week I went freezer diving and pulled out six (!) large Ziplocks filled with frozen blackberries.  Last year was a perfect year for wild blackberries.  While many other plants suffered in the heat and dryness, the blackberries thrived.
After enjoying bowl after bowlful, it was time to rinse the bounty and stock it away for another time.  Unlike the berries one buys at the store, our berries were not soaked in sugar before being put away.  Rather, the berries were rinsed then spread out on a cookie sheet prior to freezing.  This allowed each fruit to freeze separately, maintaining it's shape and juice.  The frozen berries are then vacuum sealed before being returned to the freezer until ready to use.

My general rule of thumb when preparing fruits or vegetables is less is more.  When making jam, focus on the fruit.  Our Blackberry jam has only three ingredients: Blackberries, sugar, and pectin (to aide in setting the jell).  One of my favorite recipes can be found at Food.com.  The only change in this recipe is whenever making jam I use a 1 to 2/3rds ratio fruit to sugar.  This creates more of a fruit flavor to the jam however feel free to adjust it to suit your pallet.

Seeds

What slows people down from making their own jams are the seeds.  No one really likes to have the smooth creamy texture of good jam interrupted by a stony seed pellet.  This is easy to remedy.  First of all, put away the food processor.  All this does is grind up the seeds to the consistency of sand making them harder to remove. 
By first mashing the heated fruit with a potato masher, then later mashing and sieving the hot pulp through a food mill, one will render out more of that delicious pulp and filter out the pebbly seeds.  For those that start with seedless fruit (a time saver), after processing through the food mill, set aside the remaining pulp in the refrigerator for an interesting fruit spread.  It won't keep as long as the processed jam (unless, of course, you freeze it), but it's a pure fruit change from sugared spreads.

Like fruit pies, feel free to mix and match fruit combinations when making your jam.  Concord and blackberry blend very nicely as does strawberry with blackberry.  Whatever your favorite, I'm sure you'll find that your store bought jam will pale by comparison to that lovely fresh taste from garden to kitchen.


For some special Tips on Jam making, (click here)

Saturday, January 19, 2013

Sauerkraut and other delicious treats

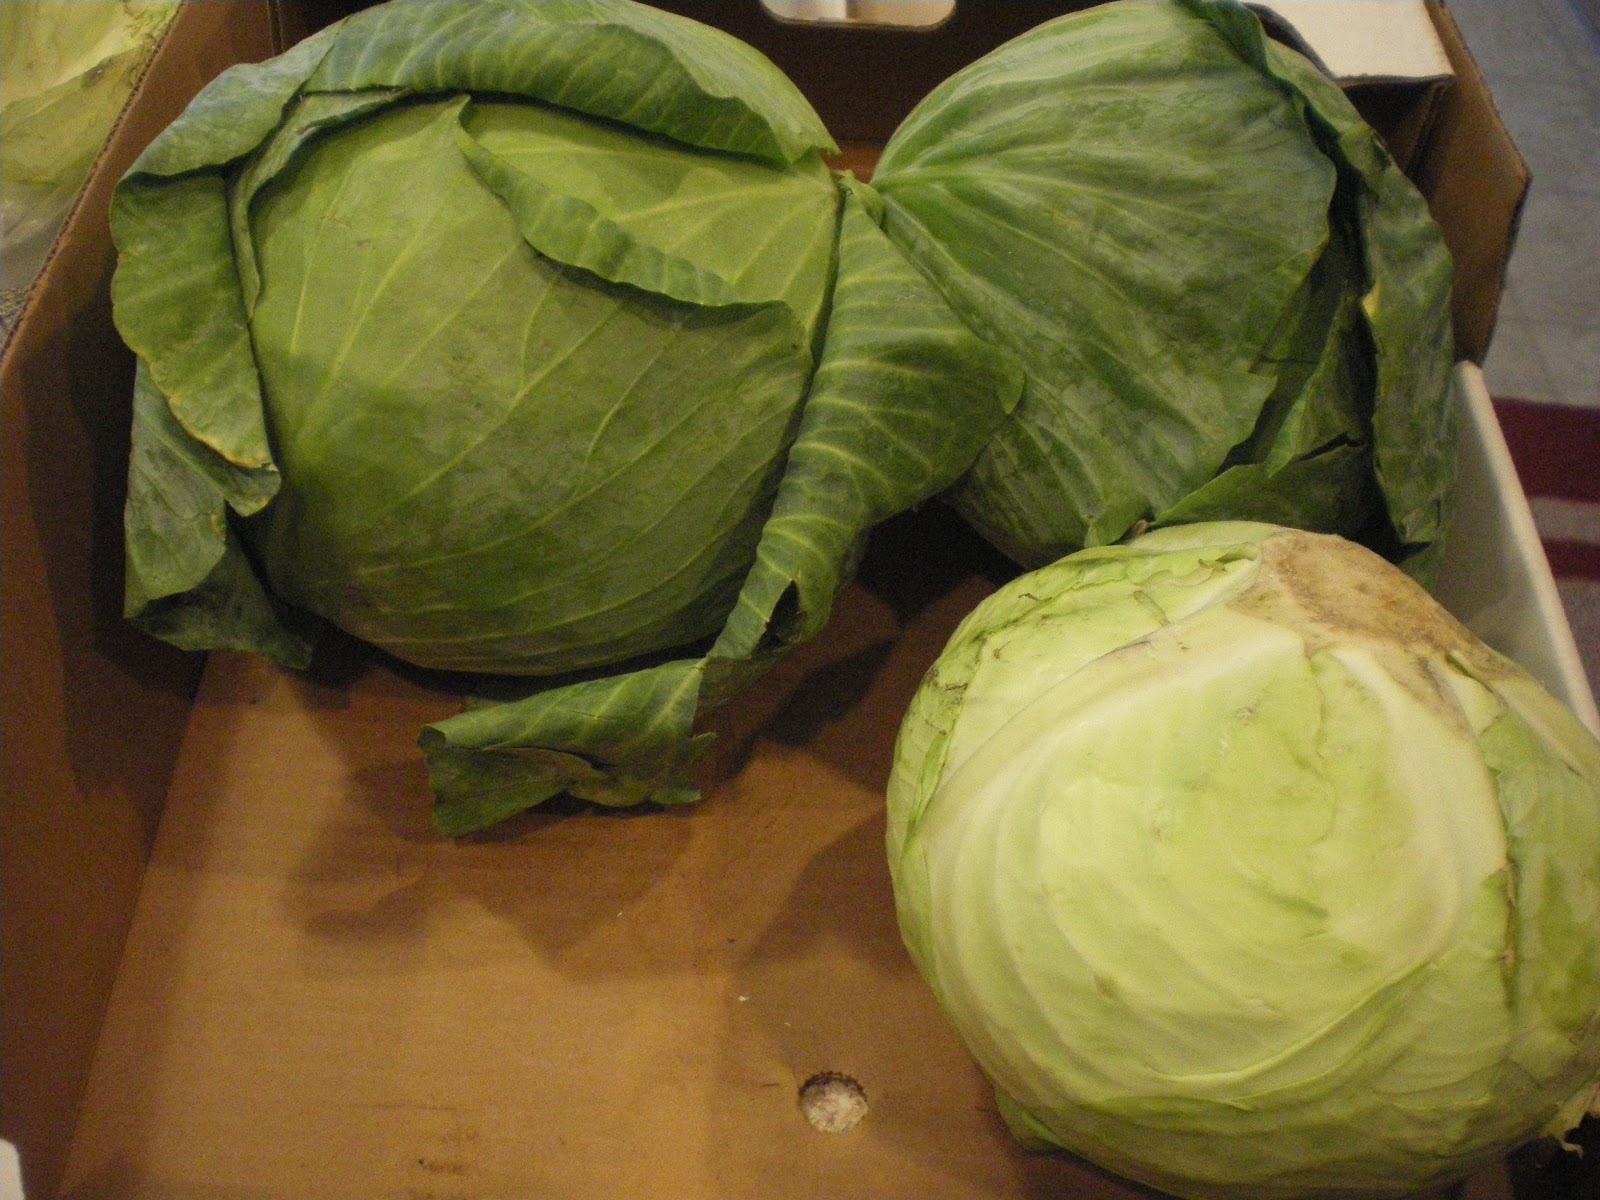
In the late Fall, just before everything freezes, the cabbages are harvested.  After enjoying bowl after bowl of fresh cole slaw and cabbage rolls stuffed with rice or ground pork, it was time to make Sauerkraut.

I'm always a little amazed by those folks who say that they don't like sauerkraut.  For me that's the equalivant to saying that you don't like cheese.  There are so many different types and so many flavors.  Today, I'll show you the basic recipe for the traditional Eastern European sauerkraut.

Ingredients:  cabbage; non iodized salt (I use canning salt)
Tools: chopping block, large sharp knife (please be careful), potato masher, food grade bucket w/lid, cheese cloth, large press & seal plastic bag.

 How many heads of cabbage do you need?  Of course this depends on how much you are making and how large the cabbage heads are.  In 2011, I made around 60 lbs with only two heads.  Each head was about the size the a bushel basket.  Once trimmed, was larger than a basketball.  2012 was a drier year so each head was only around eight pounds and about the size of a large softball.

The cabbage selected should be uniform in shape, have no discolorations or spots, and should not look dried out.

 Before getting started at all the chopping and squashing, take a look at the tools in your kitchen.  Many folks have large food processors.  If one is available to you, don't hesitate to use the shredding disk and save yourself from the potential hazzards down the road.  I only have a small six cup variety, so my options are limited.  If you are using a knife, please be very careful.  Before starting, clear your work area of any counter clutter, small fingers, and interested puppy noses.  Check the size of your knife to the size of the cabbage you are slicing.  If it is too small, you may end up cutting yourself or at least get very frustrated while chopping.  Next: sharpen your knife and wash carefully.
Gently remove the outer leaves exposing the slightly paler head.  Chop into managable sections, avoiding the bitter core in the center.  Take each section and slice into quarter inch segments.

There are lots of different containers available for curing.  Traditionally pioneers used nonreactive crocks with a wooden disk weight.  These can still be purchased from a variety of sources for those who are interested.  What I have found is that using a standard food grade bucket that has been throroughly cleaned works just as well.  Mine used to have frosting in it and was obtained from a local bakery.
 Place the shreds at the bottom of the bucket and sprinkle about a tablespoon of canning salt over it.  Add an inch or two more cabbage and sprinkle again with another tablespoon of salt.  The salt will draw the water out of the cabbage which will aide in the frementation of the kraut. 
Be sure to use non-iodized salt!  Salt with iodine in it will turn the cabbage black and not ferment properly.
 Now the fun part: with the potato masher, smash down the cabbage shreds as much as you can pressing out the air spaces.  If you have a child or partner that wants to help, this is a great place to have them join the fun!

Continue chopping, sprinkling, and smashing until the bucket is full.  Lay a piece of clean cheese cloth over the pressed, salted cabbage.  Fill a press and seal plastic bag with water, inverting it over the sink to check that it is completely sealed.  Gently lay the filled bag over the cheesecloth so that it completely covers corner to corner and weights down the contents.

 Gently cover with the lid to keep out dust and dirt while the mixture cures.  Don't forget!  Fermenting foods need to breathe.  Don't seal up the bucket too tight or place it where the air get stale.  Place the bucket in a cool, dark place, and forget about it for a couple of months.  Not really.  I write the date made on a sticky note and attach the label to the lid.  Periodically over the next few months, I take a peak at it to be sure it is fermenting properly and not growing mold or doing something unexpected.

After two or three months, the kraut is ready to can.  Heating and processing sauerkraut, stops the fermenting process.  It is the fermentation which gives the cabbage its sour flavor.  The longer the kraut sits and ferments, the more sour the taste.  When the cabbage has turned to kraut, it should translucent with no discolorations.  Black, red, or other signs of mold should be discarded.  The liquid should be clear.

When you first open the bucket, gently lift off the plastic bag and remove the cheesecloth.  I typically discard the top inch or so of the fermented cabbage to expose the lovely sauerkraut underneath.  Using my favorite tongs, the kraut is lifted out and placed into a large pot to heat while the large mouth canning jars are prepared.  32 pounds of cabbage produced around 10 quarts of kraut, including juice.  By using the freshest most succulent cabbage produced a great deal of juice.

For a change of pace, if you like a sweeter kraut, add caraway seeds to the jarred kraut.  By adding about a tablespoon full to the bottom, middle, and top, the flavors will slightly sweeten and become less sharp.

Each jar was filled and packed down before having a bit more liquid added to 'cap it off'.  As always, if canning, be sure to leave about a half inch of air space at the top for processing.  Gently tap the bottom of the jar release any bubbles, using a knife along the inside to bring them to the surface.   Wipe the lip with a clean cloth, seal, and process in a water bath for about 15 minutes.

What to do with all the kraut?  The following are all delicious options:
Salad: http://allrecipes.com/recipe/sauerkraut-salad/  
This is a really nice fresh alternative to cole slaw.

Soup: http://easteuropeanfood.about.com/od/polishsoups/r/krautsoup.htm 
Good with ham or other cured pork.  A show stopper at our house!  BTW: this website has a lot of very good recipes.  Also try their sauerkraut and apples for a lovely sidedish.

German Chocolate Cake:  http://www.tasteofhome.com/Recipes/German-Chocolate-Sauerkraut-Cake
Most folks think there is coconut in it but not this time!  Amazingly good without tasting 'krauty'.

Life is too short not to enjoy good food. Try some sauerkraut today! 


Wednesday, October 31, 2012

Happy Halloween

Happy Halloween to all!  May all your monsters be friendly and goblins be helpful.

By the way: these cute little mini-pumpkins are also edible.  Bake them up up like an acorn squash and serve as a sidedish or dessert!  Not just a table decoration but a delicious seasonal treat!

Tuesday, October 9, 2012

Kohlrabi and the cabbage family


Kohlrabi is a member of the same family as the cabbage typically used in cole slaws.  The Kohlrabi comes from the German Kohl for 'cabbage' and Rübe or Rabi for 'turnip'.  These are very easy to grow and add a nice change to the Fall dinner table.

After trimming the leaves from the bulb, carefully peel it as you would a potato or celery root.  The remaining flesh can be roasted with garlic and cheese, stir fried with other vegetables, or shredded and used in cole slaw.

Kohlrabi Apple Slaw

4 peeled and shredded kohlrabi bulbs
4 shredded apples

 ½ cup Cider Vinegar
⅓ cup Vegetable Oil
½ cup Granulated Sugar (scant)
1 tsp Salt
1 tsp Pepper


To those following this blog you will notice that the dressing is the same one used for the Bean salad given previously.  If you have a mild dressing that you like, try it as a marinade in other recipes.  This recipe is also quite nice with a slightly sweet mayonaise based dressing such as Marie's cole slaw dressing.  Part of enjoying life is not giving up but embracing the adventure.  Let Kohlrabi become part of your family's adventure at the dinner table.


Friday, October 5, 2012

Autumn Harvest, Roots

With the cooler temps, we've begun harvesting many of our root vegetables.  Beets, carrots, and rutabaga are all Autumn favorites.  Pan roasted or put up for later, these vegetables are a nice addition to the Fall dinner table.

Rutabaga is a member of the turnip family.  These vegetables thrive in cool temps and moist, yet well drained soils.  Although these were planted at the same time as the green beans last May, they didn't take off and start growing til the soils began to cool in September.  We've been pretty religious about thinning, as you note in the picture, these are now growing cheek to gum and need to be thinned further.  Which is okay by me.  Young rutabagas have a mild flavor.  We peel, then cook them on the stove like a potato.  They can then be served mashed as a tasty substitute for mashed potatoes.
Beets are in the same food family as Spinach and Kale.  Although many people are only familiar with pickled beets, these can be roasted or even added to stir fry for a little color and flavor.  Both the root and greens are edible.  For more information about this food see http://www.livestrong.com/article/269140-beets-in-the-diet/

The following is a favorite recipe of mine for beets.  For those who don't cook with wine, you can use cider or apple juice however the recipe works best with red wine.  By the way: at our house the rule of thumb for cooking with wine, is only use the wine that you would drink.  If it is not palatable enough to be sipped from a glass, you don't want to use it on your food.


Beets poached in Wine Sauce

 ¾ cup dry red wine (Merlot) or apple juice            
1/2  cup  water
1 Tbsp.  packed brown sugar 
 2 1/2  lb.  beets, peeled, and cut into bite-size pieces
Tbsp.  snipped fresh parsley
Lemon wedges (optional)

In a large saucepan combine 1/2 cup of the wine, the water, and brown sugar. Bring to boiling, stirring to dissolve sugar. Add beets. Return to boiling; reduce heat. Simmer, covered, for 45 minutes until beets are tender and can be pierced with a fork, stirring occasionally. Drain. Transfer beets to serving bowl. Season to taste with salt and pepper.
 Splash with remaining 1/4 cup wine. Sprinkle with parsley. Serve with lemon wedges. Makes 8 to 10 side-dish (1/2-cup) servings.
*Note: You can avoid staining your hands with beet juice if you wear plastic gloved while peeling and cutting the beets. Trim beet tops or leave tops on.

Although I've never developed a taste for wild carrots, I wanted to share with you this picture.  To make it easier to weed the garden, vegetables are planted in rows then marked with a string hung a few inches above the soil.  Anything growing on either side of the string is pulled as a weed.  Anything within the row whose leaf doesn't match what is expected, such as a thistle or clover, is also promptly pulled.  When harvest time comes, it always gives me a wee smile to see what surprises are held beneath.  As you see, the wild carrot top and the domestic carrot are similar.  Both are edible however the domestic carrot has a sweeter flavor, is higher in beta carotene, and is easier to pull.  Nothing goes to waste.  Goats, chickens, all sorts of animals love the wild carrots as much as the domestic.  
If you have planted carrots, make notes as you harvest.  Are they straight or bent?  Are they long and thin or irregular?  If you have kept the seed package, read what the vendor stated as 'normal size'.  Prime conditions will result in good, straight, sweet tasting carrots.  If the soil is too hard or stony, you may end up with stunted or crooked roots.  Keep this in mind before planting next year. 

Lastly, remember: all foods taste best when enjoyed when shared, after some fresh air and exercise with a friend.


Saturday, September 29, 2012

Apple Picking time

What a beautiful weekend to go apple picking!  The apples are luscious and ready for picking.  Starting in late August through early November, apples ripen and become ready for harvest.  Some of these are good eating apples, while others make wonderful pies and desserts.  What is the difference?

When chosing an apple that will be cooked, consider if it will retain its shape.  Also consider if the fruit has a nice balance of tartness to sweetness.  Our family prefers Granny Smiths or Cortlands for pies and tarts however the Ida Red is also an excellent choice.  For those that like a sweeter all purpose apple, the Golden Delicious has a nice flavor.
There are hundreds varieties of apples.  Low in calories yet high in fiber and flavonoids, there is a grain of truth in the old maxim, 'An apple a day, keeps the doctor away.'  Recent research suggests that a diet including apples could be benefitial in preventing cancer and other maladies.  All I know for sure is nothing beats an afternoon spent with your family picking apples in the clear Fall air.

Except maybe a fresh, warm pie...

Fall  Apple Pie

6 to 8 tart apples, peeled, cored, and thinly sliced (about six cups)
3/4 cup sugar
2 Tbsp Tapioca pearls (dry tapioca)
1/2 tsp ground cinnamon
1 tsp Nutmeg
2 Tbsp lemon juice (keeps the apples from turning brown and adds a wee kick to the flavor)
chilled butter
Pastry for 2 crust 9" pie (it's okay to cheat: Pillsbury makes a wonderful frozen crust for those of us who are pastry impaired)

Preheat the oven 400F degrees.  Combine the filling ingredients, coating the apples well.  Spoon the apple mixture into the pie shell, dot with butter, then apply the top crust to the pie.  Be sure to cut a few vent holes in the top so the pie can breath while it cooks.  Bake at 400F for about 50 minutes or until done. 

This simple filling can be used for a variety of desserts.  If you want to kick it up a notch, add 1/2 cup dried cherries or cranberries to the apple mixture.  Remember: the dried fruit will help soak up some of the liquid, so you may want to slightly decrease the amount of dry Tapioca.  Enjoy!


Saturday, August 25, 2012

Spicing up your life

Did you know that there are over 1000 varieties of pepper?  A typical grocery store may carry a few such as the sweet bell pepper or Jalapeno chili but that doesn't begin to scratch the surface of the flavors and varieties out there. 
Most people don't realize that many of the peppers we enjoy today originated from South America.  We take for granted those wonderful little surprises that make many of the southeast Asia dishes so tasty.  As peppers come into season, you can enjoy them fresh, pickled, dried, roasted, or even frozen for later use.
Some people say that they don't like peppers because they are too spicy.  With over a thousand to choose from, the favors are as varied as the peppers themselves.  The Poblano pepper for example adds a rich spiciness to your dish.  Just a word of warning: the heat can vary from pepper to pepper on the same plant.  Additionally when allowed to red ripen and then dried, the Poblano becomes the chile ancho a popular addition to many Mexican and Central American dishes.

Another popular chili is the Banana pepper.  These are available in both a sweet and hot variety.  We enjoy these pickled as a bright side dish or garnish to our summer picnic table.   One of our favorites is the Cherry Bomb pepper.  These can be amazingly hot.  About  the size of a golf ball, these can be stuffed with cheese or prosciutto to make Poppers that your guests will always remember!

So seek out new varieties of the season's peppers and enjoy the spicy side of life!

For further reading and other fun:
http://www.chilipeppermadness.com/